
How to Measure Kids Underwear for OEM Production
Quick answer: To measure children’s underwear for OEM production, lay the finished garment flat without stretching the body panels, identify a consistent point of measurement (POM) diagram, and record the actual garment dimensions in centimeters. Measure the waistband relaxed and by a defined stretch method; measure rise, seat/hip width, leg openings, gusset and side length as relevant to the silhouette. Use the same procedure for the approved sample, pre-production sample, bulk inspection and repeat order.
A children’s body size chart and a garment measurement sheet answer different questions. A body chart helps a customer choose a size. A factory POM sheet defines the geometry of the manufactured article. Confusing them leads to poor fit and unreliable quality decisions.
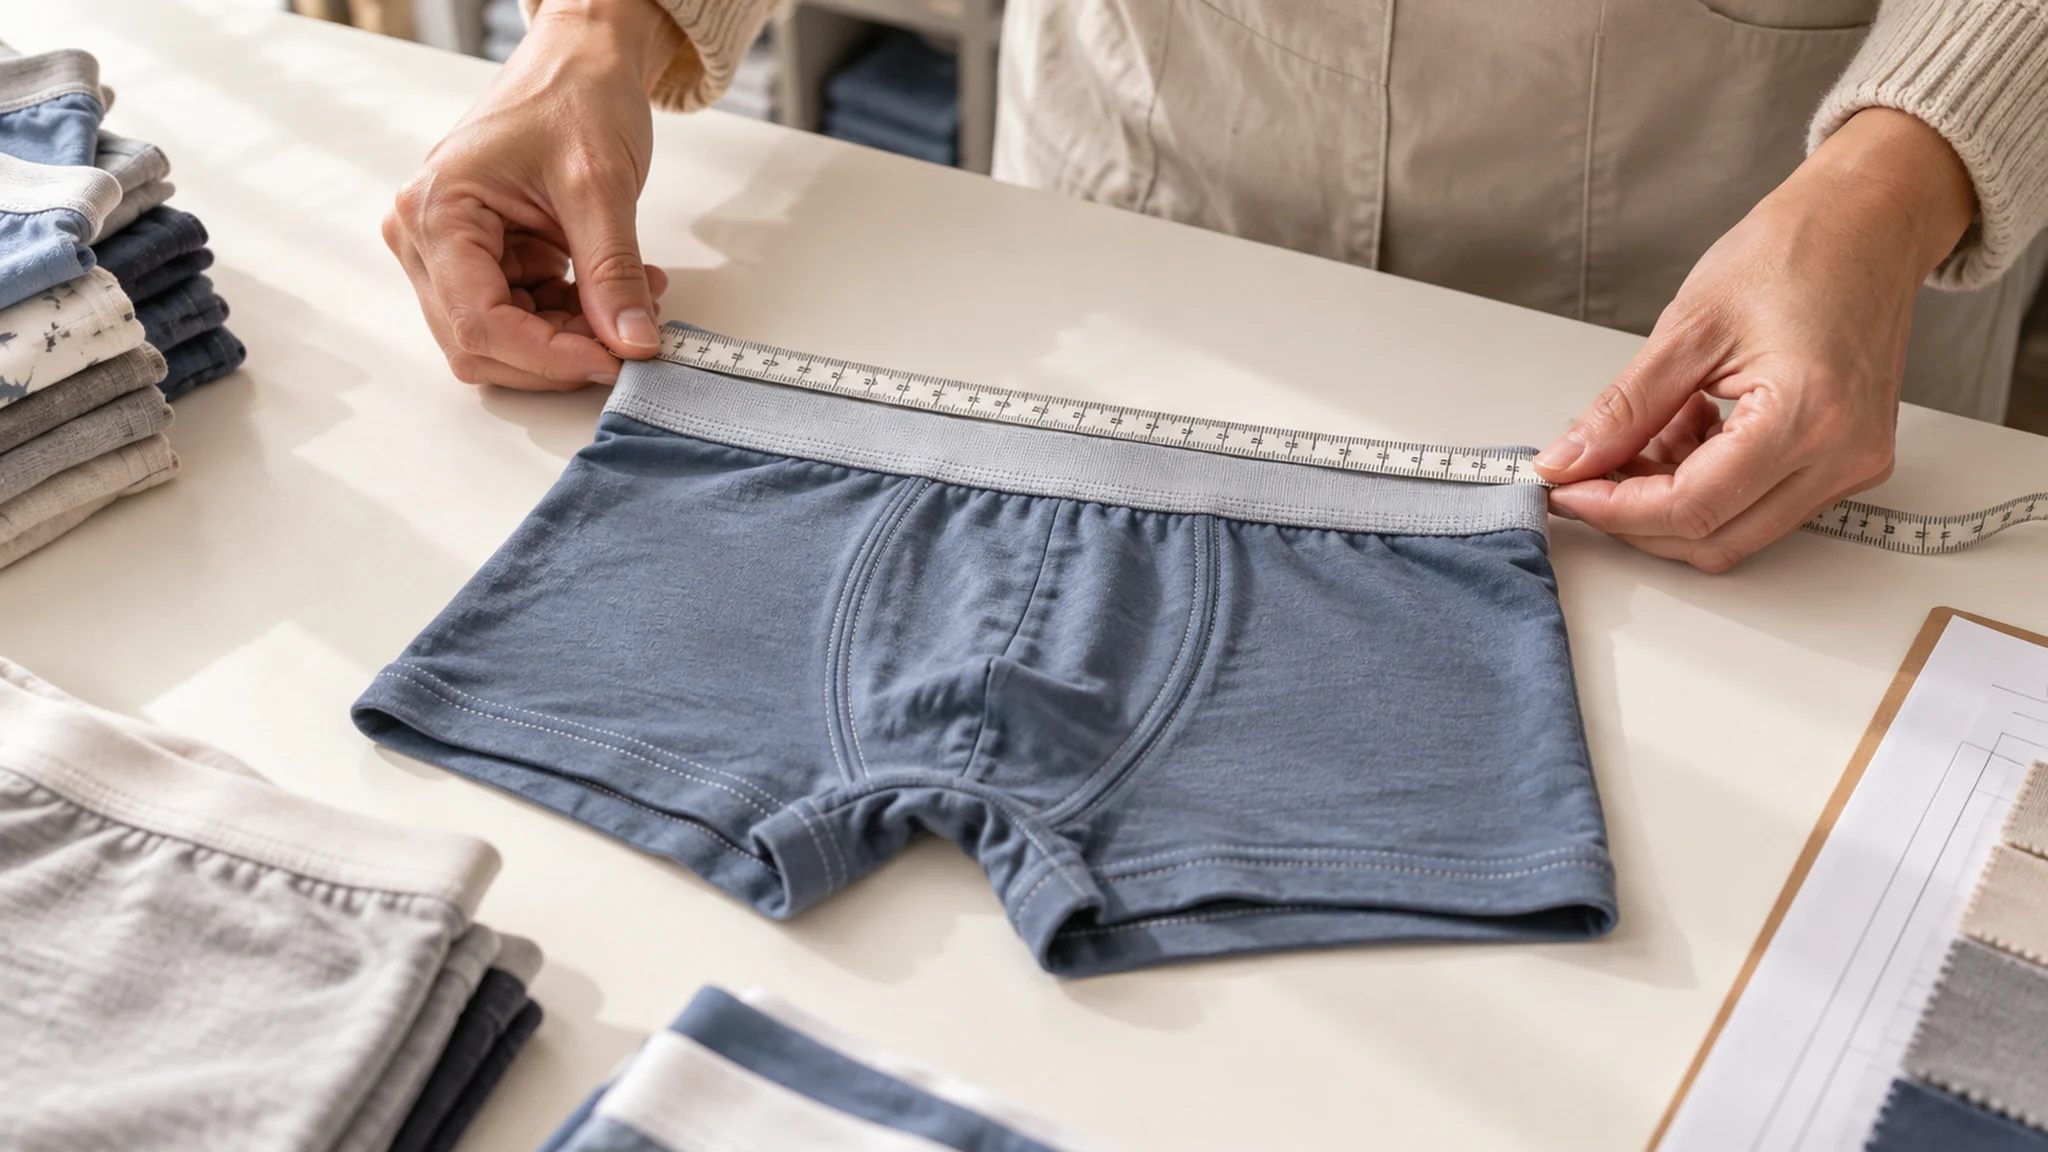
1. Prepare a measurement station
Use a large flat table, a calibrated flexible measuring tape or appropriate ruler, the current approved sample, the correct size label and the latest tech pack revision. Allow knit garments to relax according to the agreed procedure before measuring. A fabric pulled straight from a bag, still stretched from packing, may not represent its settled dimensions.
The procedure must state whether you measure along the garment surface or directly between landmarks; whether elastic is relaxed or stretched; and how to position leg openings and gussets. “Waist 25 cm” without the measurement condition is not a reproducible instruction.
2. Define the POMs for briefs, boxer briefs and triangle styles
Different underwear silhouettes cannot always share an identical list. For example, an inseam is relevant to boxer briefs but not a classic brief. A separate gusset-depth measurement may be needed for one construction but not another.
| POM code | Measurement | Suggested method definition |
|---|---|---|
| P01 | Waist width relaxed | Garment flat, measure waistband edge-to-edge under no intentional tension |
| P02 | Waist width stretched | Apply a documented, repeatable extension method; stop point and force must be agreed |
| P03 | Hip/seat width | Measure at specified distance below waistband, across front or designated layer |
| P04 | Front rise | Reference landmark to crotch seam or designated gusset point |
| P05 | Back rise | Back waistband landmark to crotch/gusset landmark |
| P06 | Side seam / side length | Waist edge to leg edge at specified side reference |
| P07 | Leg opening | Flat opening width or perimeter, clearly specified |
| P08 | Gusset width | At predefined narrow or broadest gusset location |
| P09 | Inseam (boxer brief) | Crotch seam to leg hem, following agreed method |
| P10 | Total garment length | Use only if needed by this silhouette and specify landmarks |
Do not interpret these as a universal industry standard POM code list. These are practical codes to define in your tech pack. Record whether waistband height is included in rise measurements, and whether flat width is converted to circumference for any consumer-facing communication.
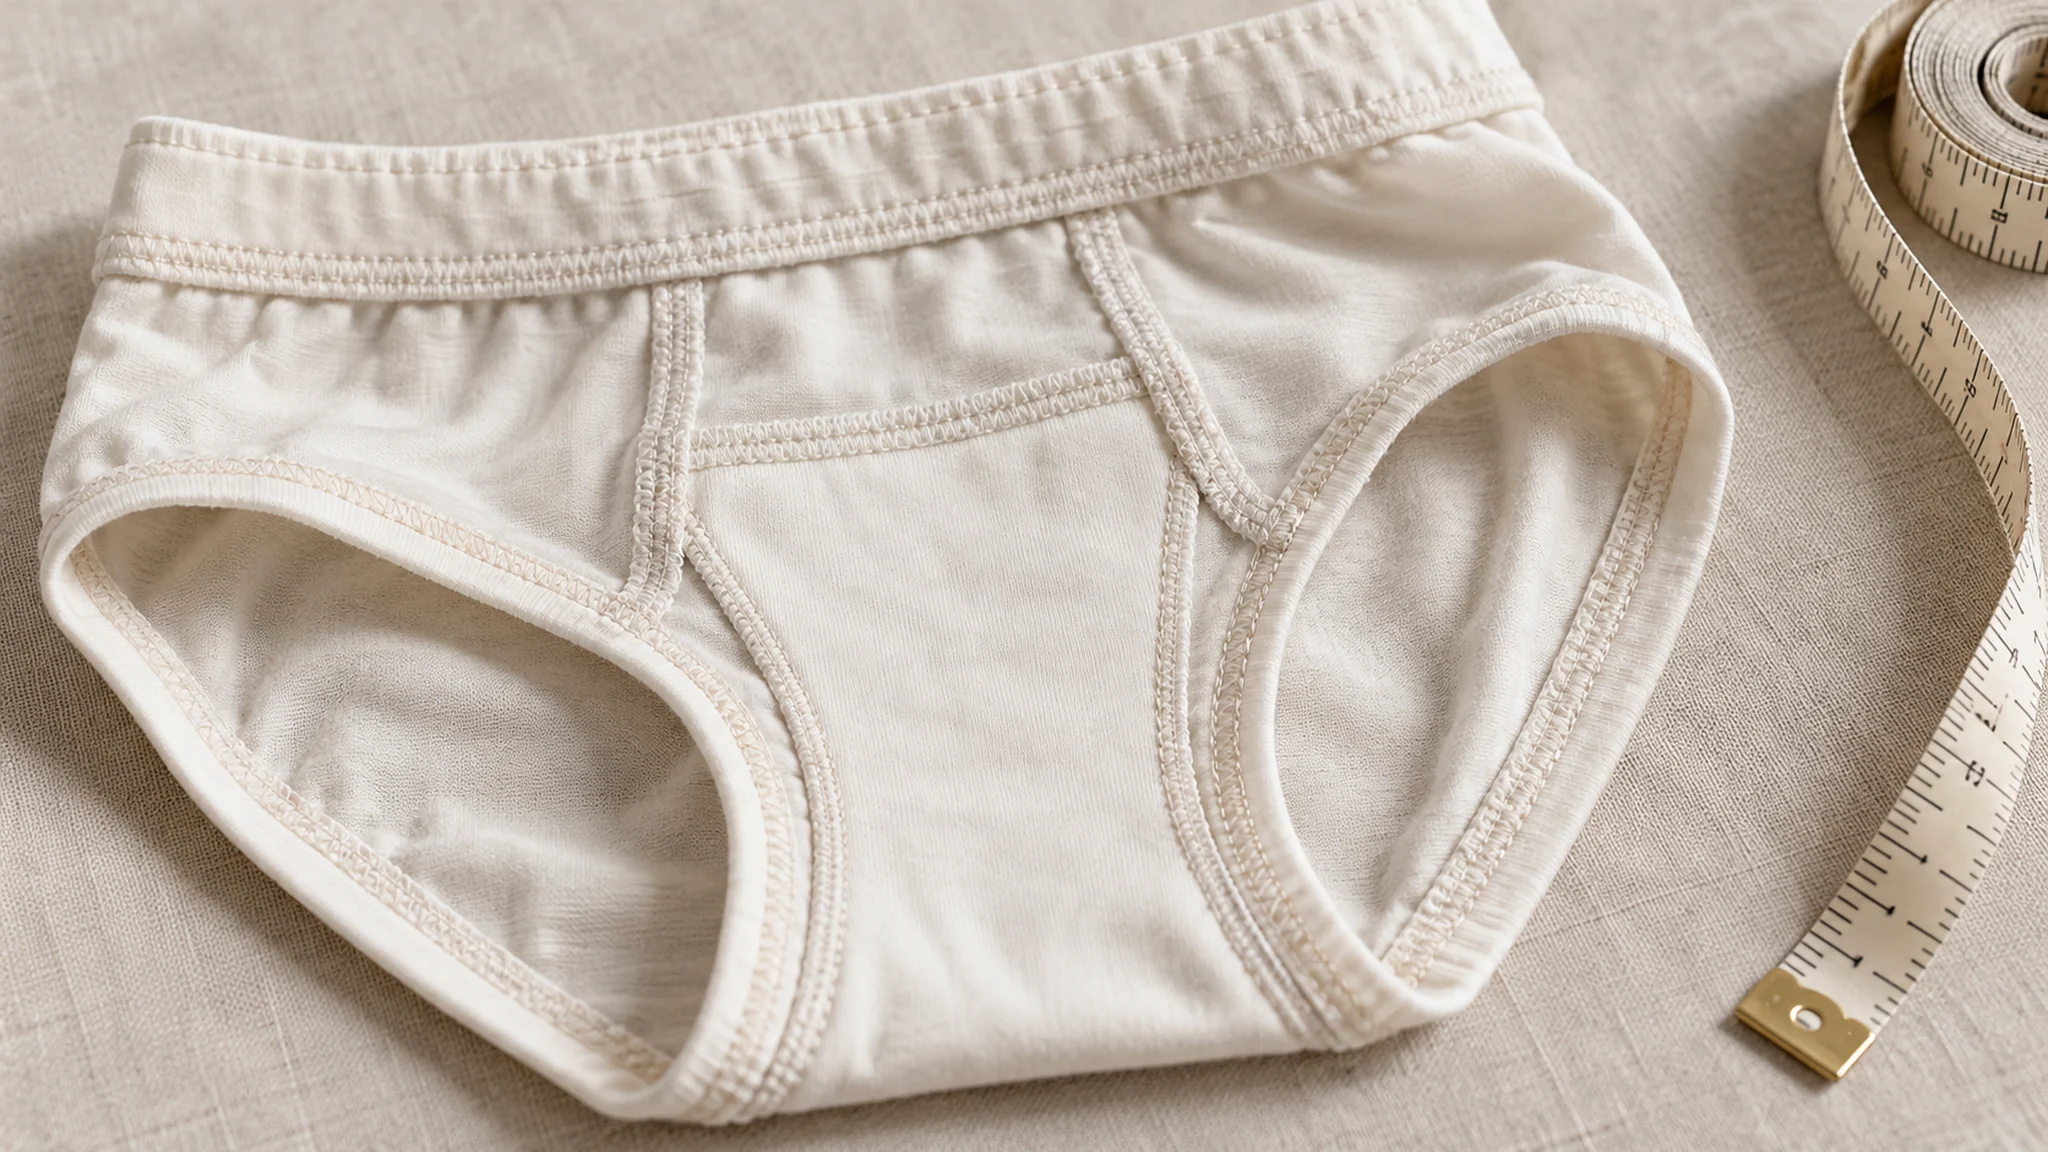
3. Measuring the waistband correctly
Relaxed width is relatively straightforward if the garment is positioned consistently. Stretched width is not. Two inspectors can get different results by pulling until they personally feel resistance. Define a stretch protocol using an agreed force or extension endpoint, equipment where appropriate, and a repeatability check. Record both figures without claiming that the stretched garment width automatically equals the target child’s waist size.
Also inspect waistband height, seam positioning and elastic recovery. A waistband that stretches enough during fitting may still roll, twist, become uncomfortable or lose recovery after washing. Document any accepted elastic reference and its supplier lot.
4. Front rise, back rise and gusset are a system
Underwear comfort comes from the relationship among rise, seat coverage, fabric stretch and gusset construction. A front rise increase changes coverage and possibly waistband placement; a back rise reduction can create fit complaints in movement. Measure all critical points rather than trying to “fix the waist” in isolation.
For boxer briefs, include inseam and thigh opening. For briefs, the angle and elasticity of leg binding may be as important as the opening width. Measure left and right symmetry where the design requires it. An image of a flat front alone is not enough to validate a three-dimensional fit.
5. How to create a production-ready measurement table
Use actual values approved by your team, not an invented universal 100–150 size chart. The blank example demonstrates structure:
| POM | Method revision | Size 100 | Size 110 | Size 120 | Size 130 | Tolerance |
|---|---|---|---|---|---|---|
| P01 Waist relaxed | M-01 | ___ | ___ | ___ | ___ | Project-specific |
| P02 Waist stretched | M-01 | ___ | ___ | ___ | ___ | Project-specific |
| P03 Hip width | M-01 | ___ | ___ | ___ | ___ | Project-specific |
| P04 Front rise | M-01 | ___ | ___ | ___ | ___ | Project-specific |
| P05 Back rise | M-01 | ___ | ___ | ___ | ___ | Project-specific |
| P07 Leg opening | M-01 | ___ | ___ | ___ | ___ | Project-specific |
Each measurement row should include the diagram, measurement condition, unit, measurement method revision, target, tolerance, actual, pass/review/fail and inspector. A single ±1 cm tolerance applied to every point is rarely a reasoned engineering decision; choose tolerances according to position, garment size, fabric stretch, manufacturing capability and fit importance.
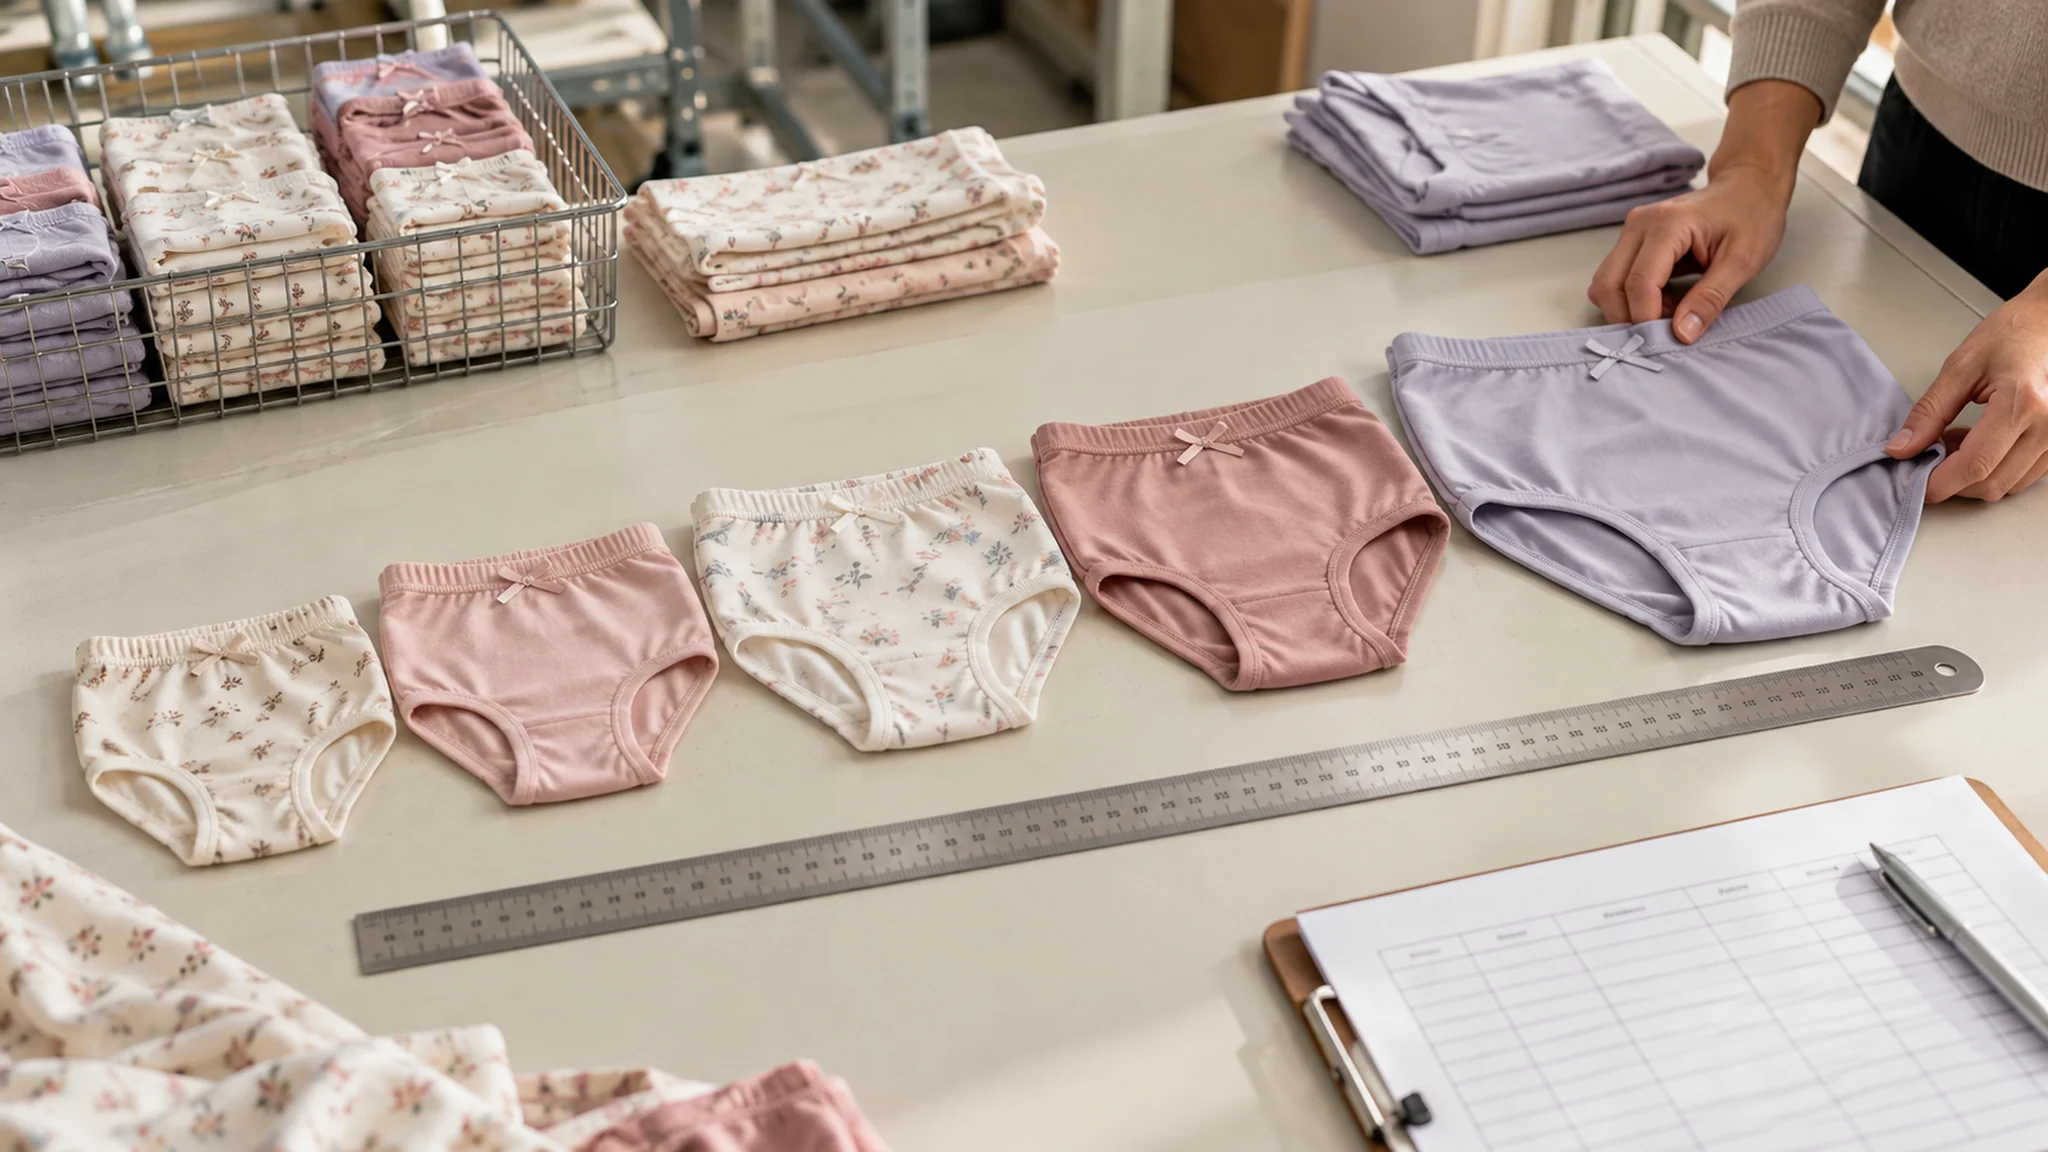
6. Check grading, not only the base size
Factories generally approve a base size and apply grading rules, but the largest and smallest sizes should still be evaluated. An apparently smooth grading table can hide a too-tight leg opening in the smallest size or insufficient rise growth in larger sizes.
Check grading across waist, seat, rise, leg, gusset and inseam as applicable; test the finished stretch fabric and elastic, not only paper patterns. If fabric composition, GSM or recovery changes between orders, reassess the fit and the validity of the grading assumptions.
7. What laundering can change
A prewash sample may meet every POM, then shrink or distort in the first wash. Choose an agreed washing and drying program representative of the care instructions and relevant test method. Measure the same landmarks before and after washing; distinguish dimensional change from stitch distortion or elastic relaxation.
For a selected POM, dimensional change can be expressed as (after − before) ÷ before × 100%. The result depends on the measurement definition. A minus percentage indicates contraction under this convention; do not announce a pass/fail without the agreed limit and method.
| Failure after wash | Possible contributing factor | Follow-up control |
|---|---|---|
| Waist permanently wider | Elastic recovery loss | Compare approved vs production elastic |
| Rise shorter | Fabric shrinkage or seam tension | Check finished fabric and wash data |
| Leg opening distorted | Binding ratio or recovery | Review stitching and attachment conditions |
| Side seam twisted | Fabric spirality | Recheck fabric, cutting and finishing |
8. Prevent measurement disputes during production
Create a golden sample and retain a version-controlled, signed POM document. If the buyer changes an accepted waist specification after bulk fabric is cut, record its impact on patterns, scrap, timelines and unit price. If a factory proposes a tolerance adjustment, require approval before implementation.
At pre-production inspection, sample the smallest, base and largest sizes at minimum according to the agreed QC plan. For bulk checks, identify lots and sample selection method. Measurements outside tolerance should trigger isolation and corrective action, not an unexplained handwritten “OK.”
9. Downloadable measurement workbook structure
The package includes templates/kids-underwear-pom-sheet.csv with measurement codes, size fields, targets, actuals, inspection decisions and revision controls. Use it with your own diagrams and measured data. Do not publish the empty template as a ready-to-use consumer size chart.
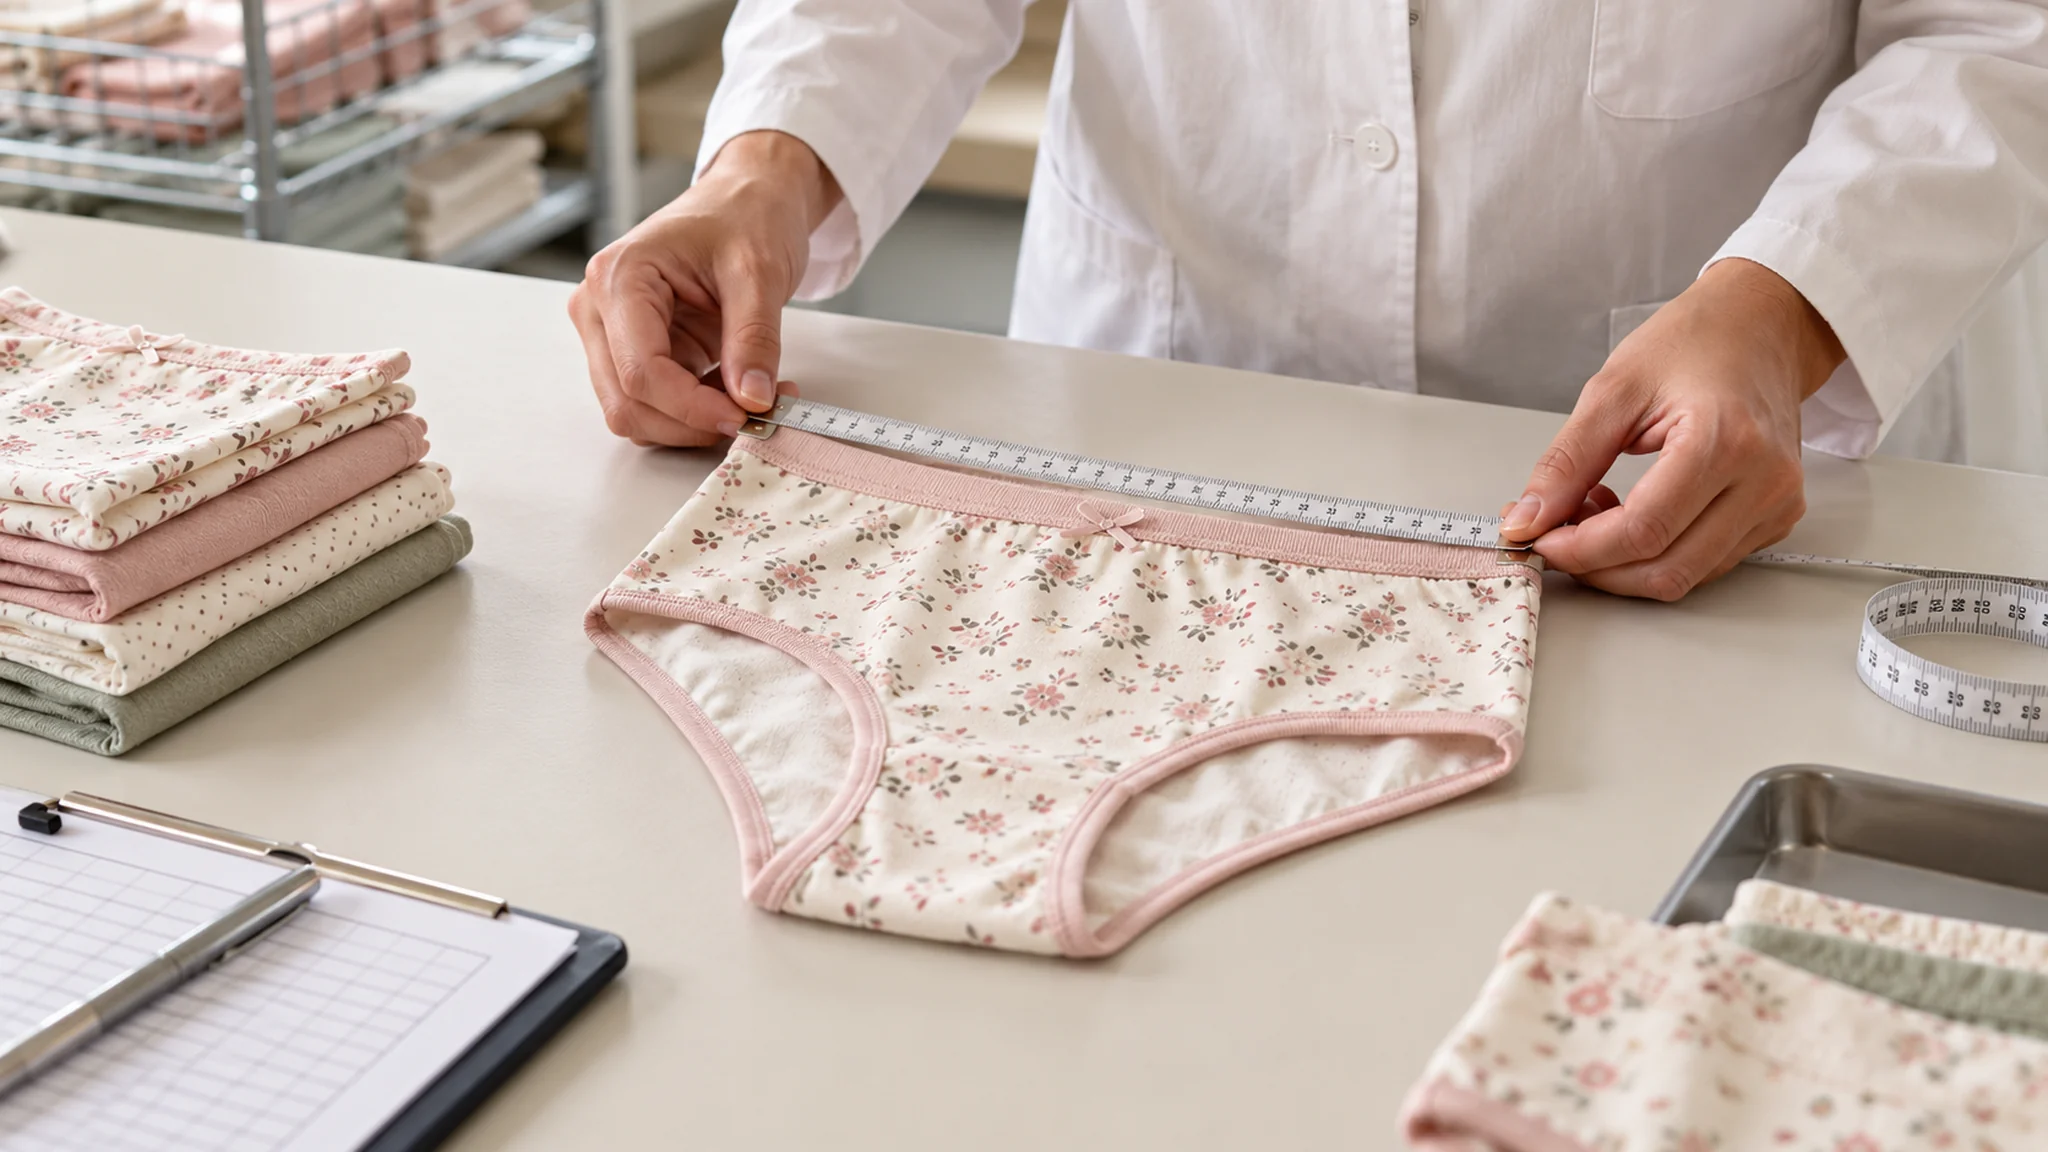
10. The correct way to resolve a fit complaint
Suppose a brand reports that a boxer brief labeled size 120 feels too tight after washing. Rather than asking the factory to “increase all sizes,” collect the SKU, size, fabric lot, wash method, customer feedback pattern and retained approved sample. Measure actual relaxed waistband, stretched waistband under the defined method, seat, front rise, back rise and thigh opening. Compare those measurements with the approved POM sheet before deciding that the issue is a pattern problem.
The defect may be related to elastic recovery, fabric shrinkage, a measurement definition mismatch, user selection based on age rather than body dimensions, or a construction change. Each requires a different remedy. Increasing the entire grade rule could create loose fits in unaffected sizes; changing elastic without test data could simply move the problem elsewhere.
11. Sample-size and lot interpretation
A sample measurement is not a universal characterization of an entire manufacturing lot. Define how many pieces are measured by size, color, production period and fabric lot. Record individual actual values, not only the average. The inspection strategy may differ for first-off approval, in-line control and final shipment acceptance.
When a fabric lot or elastic supplier changes mid-order, split the traceability and compare results for the relevant group. If an out-of-tolerance reading occurs, have the inspector repeat the measurement using the exact procedure and confirm the measurement instrument before concluding that the entire pattern was wrong. Where defects are verified, quarantine relevant pieces and document corrective action.
12. How the POM sheet becomes a customer-facing size guide
The consumer should see a simple size guide based on relevant body dimensions, the garment’s intended fit and tested coverage—not an unedited technical sheet of flat measurements. A factory POM contains details useful for construction control, including gusset, front rise and leg opening, but a customer size chart usually needs a much smaller number of understandable measurements.
Connect the documents with a clear revision mapping: consumer size chart release A → tech pack revision C → garment POM revision C2 → relevant approved sample. If you change the fabric and fit, reassess the mapping before publishing the revised chart. This can reduce returns and prevents the marketing team from copying measurements for a different fabric construction.
FAQs
Should I measure a child’s waist or the underwear waistband?
For fit development, use both, but keep them in separate documents. Body measurements inform size selection; garment POMs tell the factory what to cut and sew.
Is relaxed waist width the same as waist circumference?
No. A flat-width number and a body circumference are not interchangeable, especially for elasticated garments. Define the measurement and conversion method, if any.
What tolerance should I allow for kids underwear?
No single tolerance suits every point or style. Set and approve tolerances by POM, size, fabric and functional importance with the supplier and quality team.
Should each size be fit-tested?
The highest-risk and edge sizes should be evaluated, and the size run verified according to a defined plan. Grading calculations alone do not prove finished fit.
Can the same measurement sheet be reused for modal and cotton underwear?
Possibly as a starting format, but different stretch, recovery and shrinkage behavior may require different targets or validation. Do not reuse approval automatically.
Related reading: Kids Underwear Size Guide by Style · Kids Underwear International Size Chart · Kids Underwear Manufacturing
Talk to a Kidswear Manufacturing Specialist
Send your product type, reference images or tech pack, fabric composition, size range, intended market, quantity by style and color, and target delivery date. Request an OEM/ODM feasibility review and quotation. MOQ, sampling, testing responsibilities and delivery milestones are confirmed against your actual specification.