
Holding the Colour Line: Shade Bands and Batch Consistency in Production
In a single bulk run of children’s underwear, the colour you approved at the lab-dip stage can quietly split into several slightly different versions of itself. Not because anyone set out to change it, but because dyeing fibre at scale is a process with dozens of small variables, each one nudging the shade a few tenths of a delta-E this way or that. The real job of a manufacturer is not to promise one perfect, frozen colour — it is to keep every roll inside a band your eye still accepts as “the same thing.” This article explains how shade bands work, what an acceptable delta-E tolerance actually means, why dyelots drift, and the concrete control steps that keep a 3,000-piece lot looking like one garment from the first bodysuit to the last.
On this page
- Why colour consistency is the quiet risk in kidswear
- What a shade band actually is
- Delta-E: the number behind “close enough”
- Why dyelots drift — the root causes
- How a manufacturer holds the line
- Shade-band acceptance table: grade → tolerance → use
- What a buyer should ask for
- Putting it together for your next order
1. Why colour consistency is the quiet risk in kidswear
In kidswear, colour inconsistency is a return-risk and a compliance-risk problem, not just an aesthetic one. Small garments magnify shade drift, and parents notice. A manufacturer controls it with a sealed master, a defined shade band, and roll-by-roll bulk comparison under a standard light source.
Adults will wear two slightly different greys in the same outfit and call it “fine.” A child does not get that choice — and the parent buying for them absolutely will notice. Three things make colour consistency a first-order issue in children’s underwear and sleepwear rather than a finishing detail:
- Small surfaces magnify drift. A 1.0 delta-E step that disappears on an adult dress reads as “two different colours” across a 90 cm bodysuit or a pair of briefs. The smaller the panel, the tighter the band has to be.
- Colour is a safety variable here. In children’s garments, dye and print must hold to saliva and perspiration colourfastness under GB 31701 Class A (China children’s A-class safety standard). A shade that drifts because the recipe was unstable is often the same recipe that bleeds — so consistency and compliance travel together.
- Returns are reputation, not just cost. A mixed-shade shipment becomes a photo in a one-star review that names your brand, and kidswear buyers are unusually willing to post about it. Catching drift at the lab-dip or bulk-comparison stage costs minutes and a re-dye; catching it post-shipment costs the relationship.
The good news: drift is predictable, and once it is predictable it is controllable. That is what the rest of this article is about.
2. What a shade band actually is
A shade band is a ladder of fabric strips — usually four to five steps — showing the lightest and darkest shades still acceptable around your approved master. Rolls inside the band pass; rolls outside get re-dyed or rejected.
Every colour approval starts with a master: the single sealed reference — normally the approved lab dip or a retained bulk standard — that defines “correct.” A shade band is what you build around that master. It is a physical set of reference strips stepped from light to dark (and sometimes warm to cool), each one a known delta-E distance from the master. The band says, in effect: “anything between strip A and strip D is still the same product.”
In practice the manufacturer produces the ladder from the approved dip, then uses it two ways:
- As a visual gate. A bulk roll is laid next to the ladder under a controlled light box. If it sits between the acceptable ends, it passes.
- As a cutting rule. Rolls are shade-sorted so that one garment is cut from rolls that fall in the same step of the band. Even if the whole lot is technically “in band,” you never mix step A and step D in the same bodysuit.
The discipline that matters most is that the band is agreed before bulk, not invented after a problem appears. A band defined in the development stage is a specification; a band defined during a complaint call is an argument.
3. Delta-E: the number behind “close enough”
Delta-E (ΔE) is the numeric distance between two colours measured by a spectrophotometer. For kids’ interlock bases we typically hold bulk within ΔE ≤ 1.0 of the master for body panels, relaxing to ΔE ≤ 1.5–2.0 only for low-visibility areas.
“Looks about the same” is not a control method. The number behind it is delta-E, the output of a spectrophotometer that compares a sample’s colour values to a reference’s. The most common formulas are CIE76 (a straight Euclidean distance) and the newer CIEDE2000, which weights human perception more accurately in the blues and near-neutrals where many underwear shades live. For practical purposes the rule is what the eye does:
- ΔE ≤ 0.5–0.8: essentially invisible to a trained eye under standard light. This is the master and its immediate neighbours.
- ΔE ≈ 1.0: the threshold where a careful viewer begins to notice, but most consumers will still call it “the same.” This is our default acceptance for body panels.
- ΔE 1.5–2.0: noticeable side by side, acceptable only where the area is small, inner, or rarely compared.
- ΔE > 2.0: visibly two different colours. Re-dye or reject.
| Garment zone | Accepted ΔE vs master | Notes |
|---|---|---|
| Primary body panels (same garment) | ≤ 0.8 | Must match within a single piece. |
| Standard body / trim (most runs) | ≤ 1.0 | Our default band for interlock bases. |
| Inner gusset / waistband inner | ≤ 1.5 | Low-visibility, rarely compared. |
| Non-critical / label-adjacent | ≤ 2.0 | Only when not placed next to body panels. |
One caveat that traps first-time buyers: delta-E is meaningless without a defined light source. The same fabric can read half a step different under warm retail lighting versus daylight. We standardise on D65 daylight for measurement and visual judgement, and we record the illuminant in the approval so nobody re-litigates it later under different lighting.
4. Why dyelots drift — the root causes
Dyelots drift because fibre absorbency, dye-lot chemistry, machine load, liquor ratio, temperature, time, finishing heat, and even the light used to judge colour all vary run to run. None is large; together they push a shade outside the band.
Understanding drift is the first step to controlling it, so here is an honest map of where a shade actually moves during production. None of these is a defect on its own — they are normal process variance. The question is whether the sum stays inside the band.
| Cause of drift | What it does to the shade | How a manufacturer controls it |
|---|---|---|
| Fibre absorbency variation | Even “the same” fibre (e.g. Lenzing™ Modal vs combed cotton) takes dye differently; batch-to-batch fibre shifts the depth. | Run shade bands per fibre; re-profile the recipe at bulk, not only at dip. |
| Dye-lot chemistry | A new drum of dye is never identical to the last; depth and hue shift. | Batch the dye, qualify each lot, and keep a retained master for comparison. |
| Machine load & liquor ratio | More or fewer metres per bath changes how the colour settles. | Fix liquor ratio and load size per shade; document the recipe. |
| Temperature & time | A few degrees or minutes off moves the depth measurably. | Programmed, logged dye cycles; no manual overrides mid-bath. |
| Finishing heat (sanforising, heat-set) | Thermal finishing can deepen or yellow a shade after dyeing. | Finish a bulk sample and re-check ΔE after, not only before. |
| Judgement light source | Same fabric reads different under warm vs daylight. | All visual calls made in a D65 light box, never under shop lights. |
The single most common buyer-side mistake is to approve a dip under one light, then dispute bulk under another. When the light source and the tolerance are written into the brief, most “drift” complaints disappear — because they were never drift, they were lighting.
5. How a manufacturer holds the line
Control runs in three moves: seal an approved lab-dip master, compare every bulk roll against it on a spectrophotometer and in a D65 light box, and shade-sort rolls so one garment is cut from one band step. Cutting from the same dye lot is the cheapest insurance.
At Nuohua the colour-control chain looks like this, and it is the same logic whether the fabric is one of our in-stock Modal bases or a custom development:
- Seal the master. The approved lab dip (and, for reorders, a retained bulk standard) becomes the reference. It is kept, dated, and referenced by lot number — not left in someone’s drawer.
- Approve the lab dip against spec. Hue and depth are locked under D65, with a Pantone TCX or physical standard as the target. A Pantone on cotton is not the same Pantone on Modal, so the dip is always done on the actual bulk fibre.
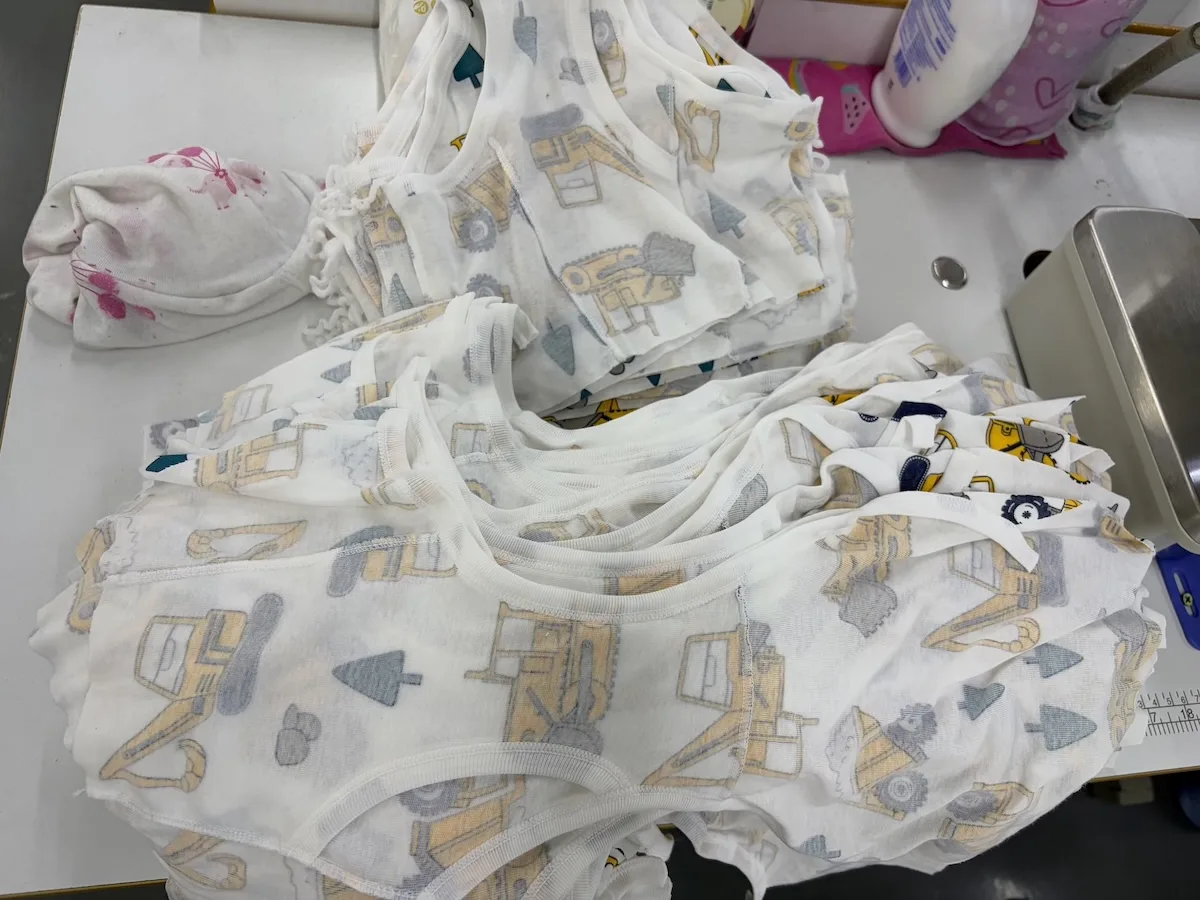
- Compare bulk roll-by-roll. Each incoming production roll is measured on a spectrophotometer and judged in the light box against the sealed master. The reading goes on the roll ticket.
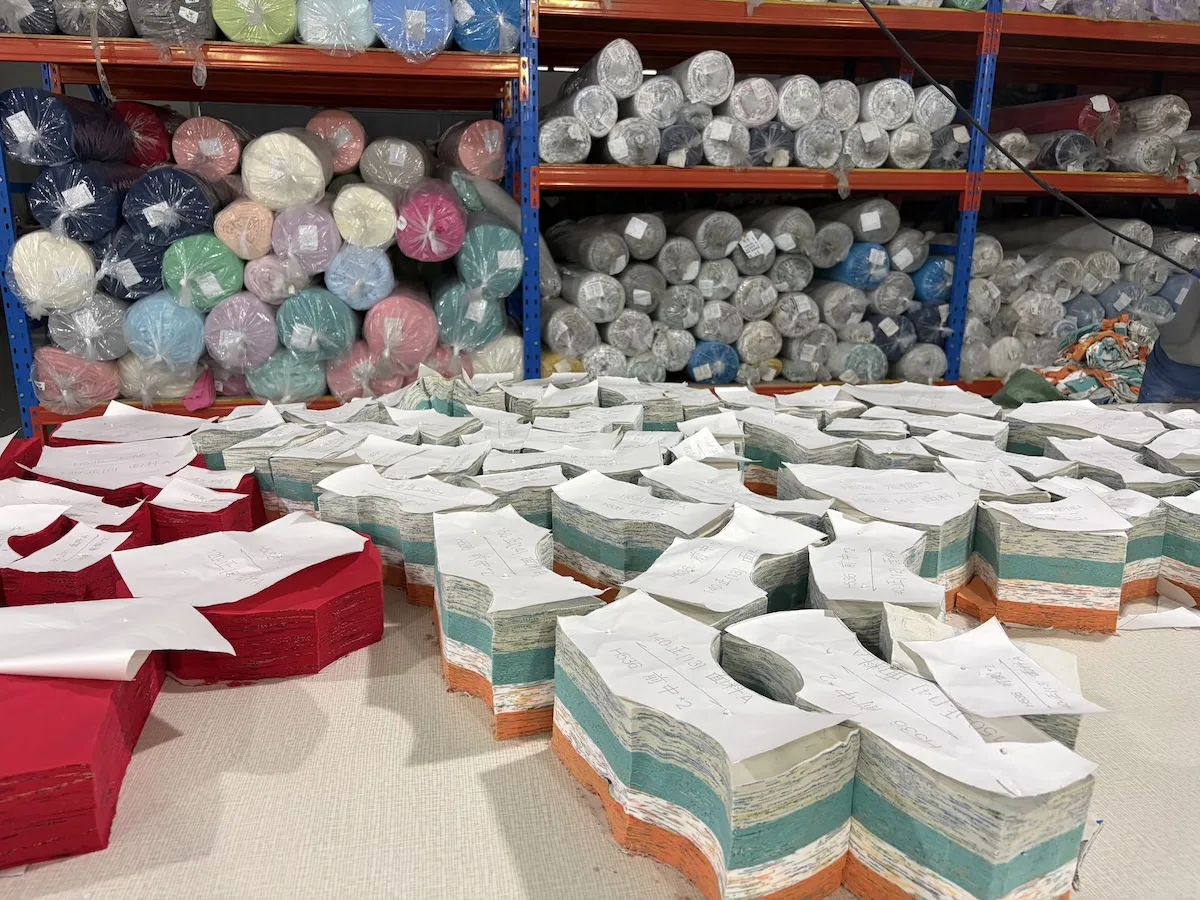
- Shade-sort before cutting. Rolls are grouped by band step, and a single style is cut from rolls in the same step. This is why “in band” and “cut from one lot” are two different promises — we keep both.
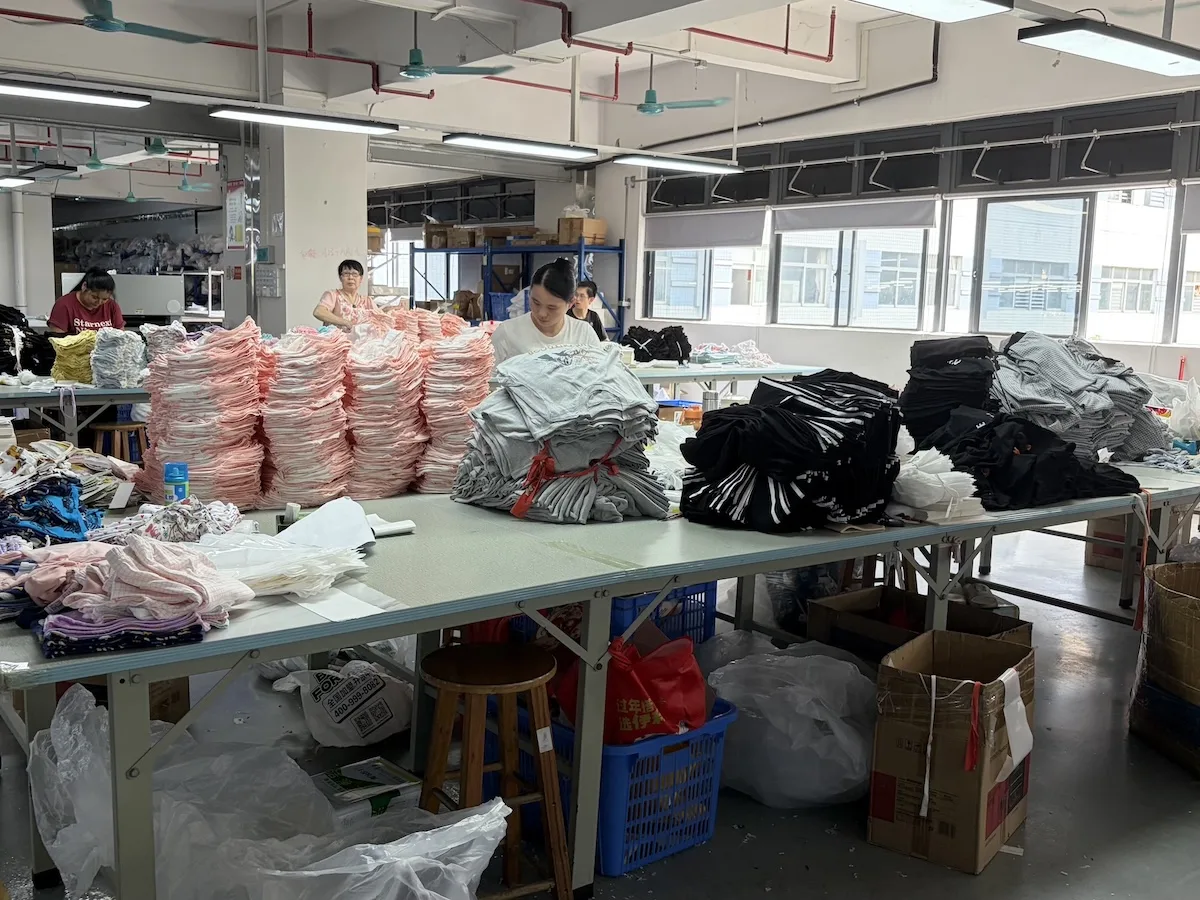
None of this is exotic. It is discipline: measure, record, sort, cut. The factories that struggle with colour are rarely short on equipment; they are short on the habit of treating the master as law.
6. Shade-band acceptance table: grade → tolerance → use
The band is expressed as grades: Grade A (master, ΔE 0–0.6) for same-garment panels; Grade B (ΔE 0.6–1.0) for standard body; Grade C (ΔE 1.0–1.5) for inner/secondary; Grade D (ΔE 1.5–2.0) for non-critical. Beyond D is rejected.
Here is the working table we use to turn “close enough” into a written specification. Share it with your factory and agree the grades before bulk — it removes almost all colour arguments later.
| Band grade | Delta-E tolerance vs master | Typical use / application |
|---|---|---|
| A — Master | 0.0 – 0.6 | Body panels that must match within a single garment; same-lot colour-critical pieces. Our production reference. |
| B — Standard | 0.6 – 1.0 | Primary body and trim on most kids’ underwear. The default acceptance for interlock bases. |
| C — Secondary | 1.0 – 1.5 | Inner gussets, waistband inner, less-visible panels where side-by-side comparison is rare. |
| D — Non-critical | 1.5 – 2.0 | Low-visibility areas only; never placed adjacent to a Grade A or B panel. |
| Reject | > 2.0 | Outside the band — re-dye the lot or reject the roll. |
7. What a buyer should ask for
Ask for three things in writing: the sealed master reference, the agreed delta-E tolerance and light source (D65), and a shade-band acceptance table for your programme. Also confirm rolls will be shade-sorted before cutting. These requests turn colour from a hope into a spec.
The manufacturer reversal view is simple: the buyer who gets consistent colour is the buyer who specified it. Here is what to put in the brief, and the answer that tells you a factory actually runs this process.
| Your request | Why it matters | What a good answer includes |
|---|---|---|
| Sealed master retained by factory | Gives bulk a fixed reference instead of memory. | A dated, lot-numbered master kept for reorders. |
| Agreed ΔE tolerance + light source | Stops “looks different” disputes from lighting. | “D65, body ≤ 1.0, inner ≤ 1.5” in writing. |
| Shade-band table for the programme | Makes acceptance a shared spec, not an opinion. | A graded table like the one above, signed off. |
| Roll-by-roll comparison records | Proves each lot was actually checked. | Spectrophotometer readings on roll tickets. |
| Shade-sorted cutting | Even in-band rolls shouldn’t mix steps in one piece. | Confirmation that cuts are grouped by band step. |
The mistakes to avoid are just as clear: don’t approve colour on a phone screen, don’t leave the tolerance blank and assume “you’ll know it when you see it,” and don’t mix two dye lots in one style without shade-sorting. Each of those is a small shortcut that becomes an expensive return.
8. Putting it together for your next order
For your next order, define the master, the band and the light source at the lab-dip stage, then require roll-by-roll comparison and shade-sorted cutting at bulk. That sequence is what keeps a whole lot reading as one colour.
Colour consistency is not a talent a factory either has or lacks — it is a chain of written decisions: a sealed master, a defined band, a fixed light source, and roll-by-roll discipline at bulk. When those are in place, a 1,000-piece or 10,000-piece run looks like one garment. When they are missing, even a beautiful lab dip becomes a shipment of “almosts.”
If you are building a kids’ line, the cheapest time to set the colour spec is during development — before the first bulk metre is dyed. Our team runs in-stock Modal bases and custom developments through the same master-and-band process, and we retain the sealed standard so reorders match the first run.
Want your colour spec locked before bulk — master, band and light source agreed at the lab-dip stage?